

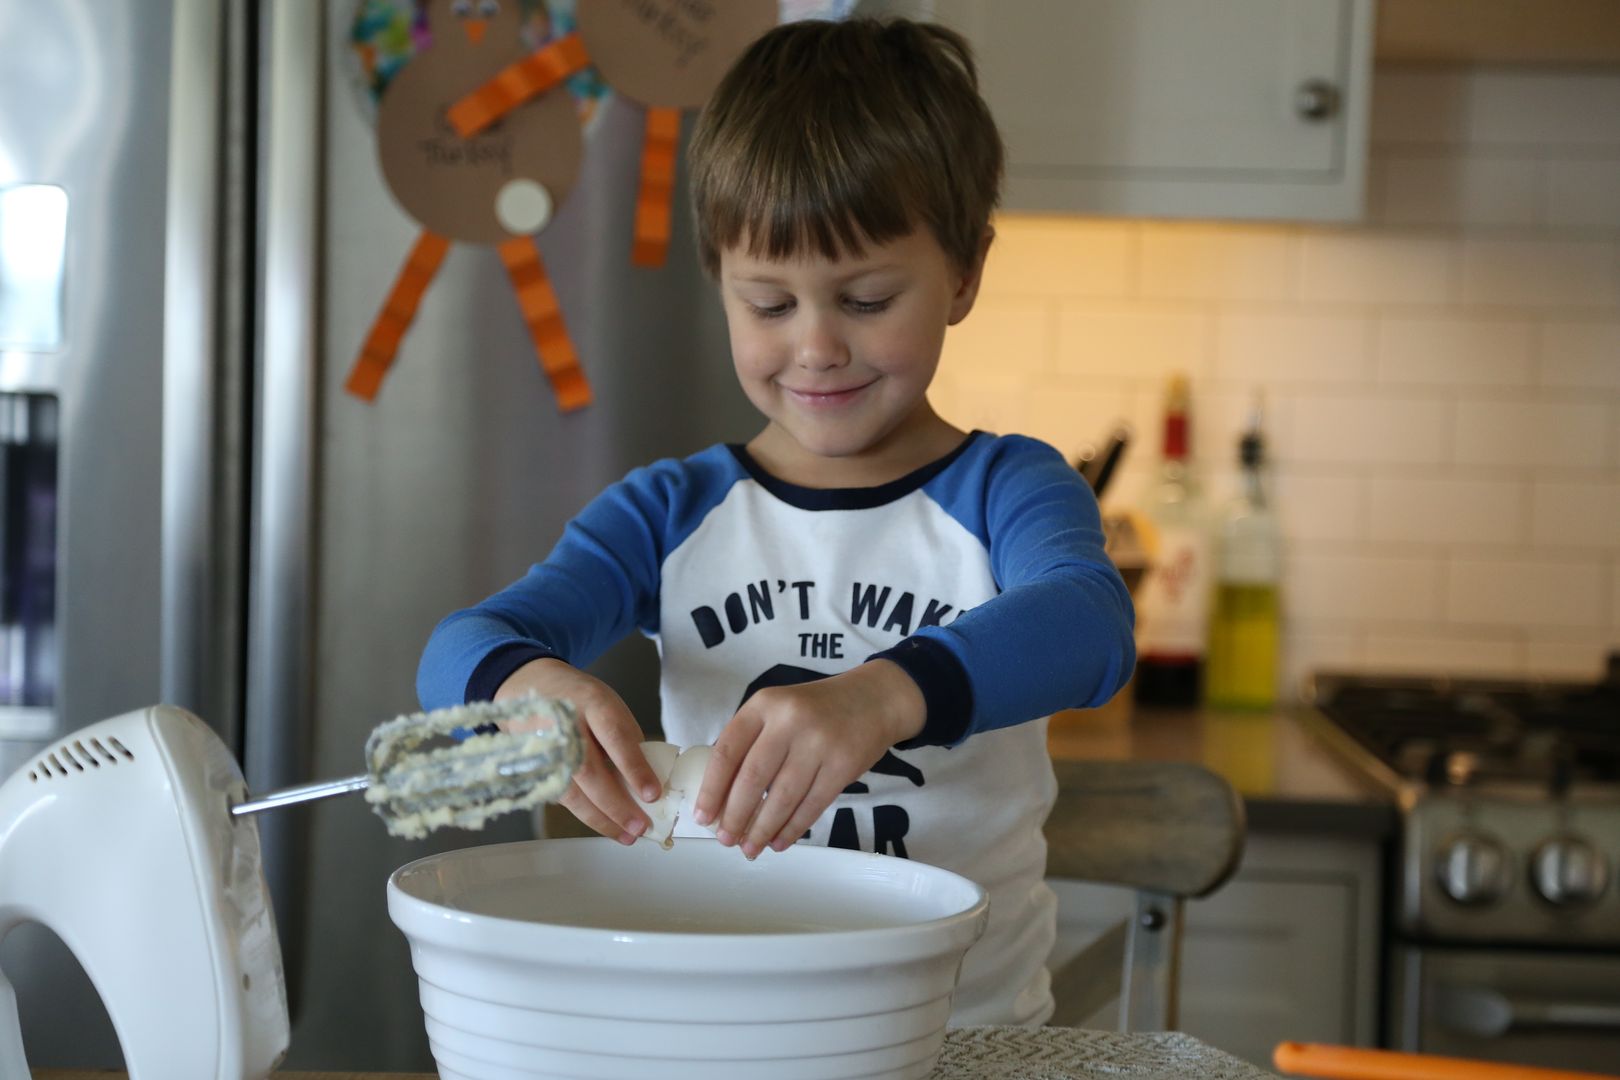
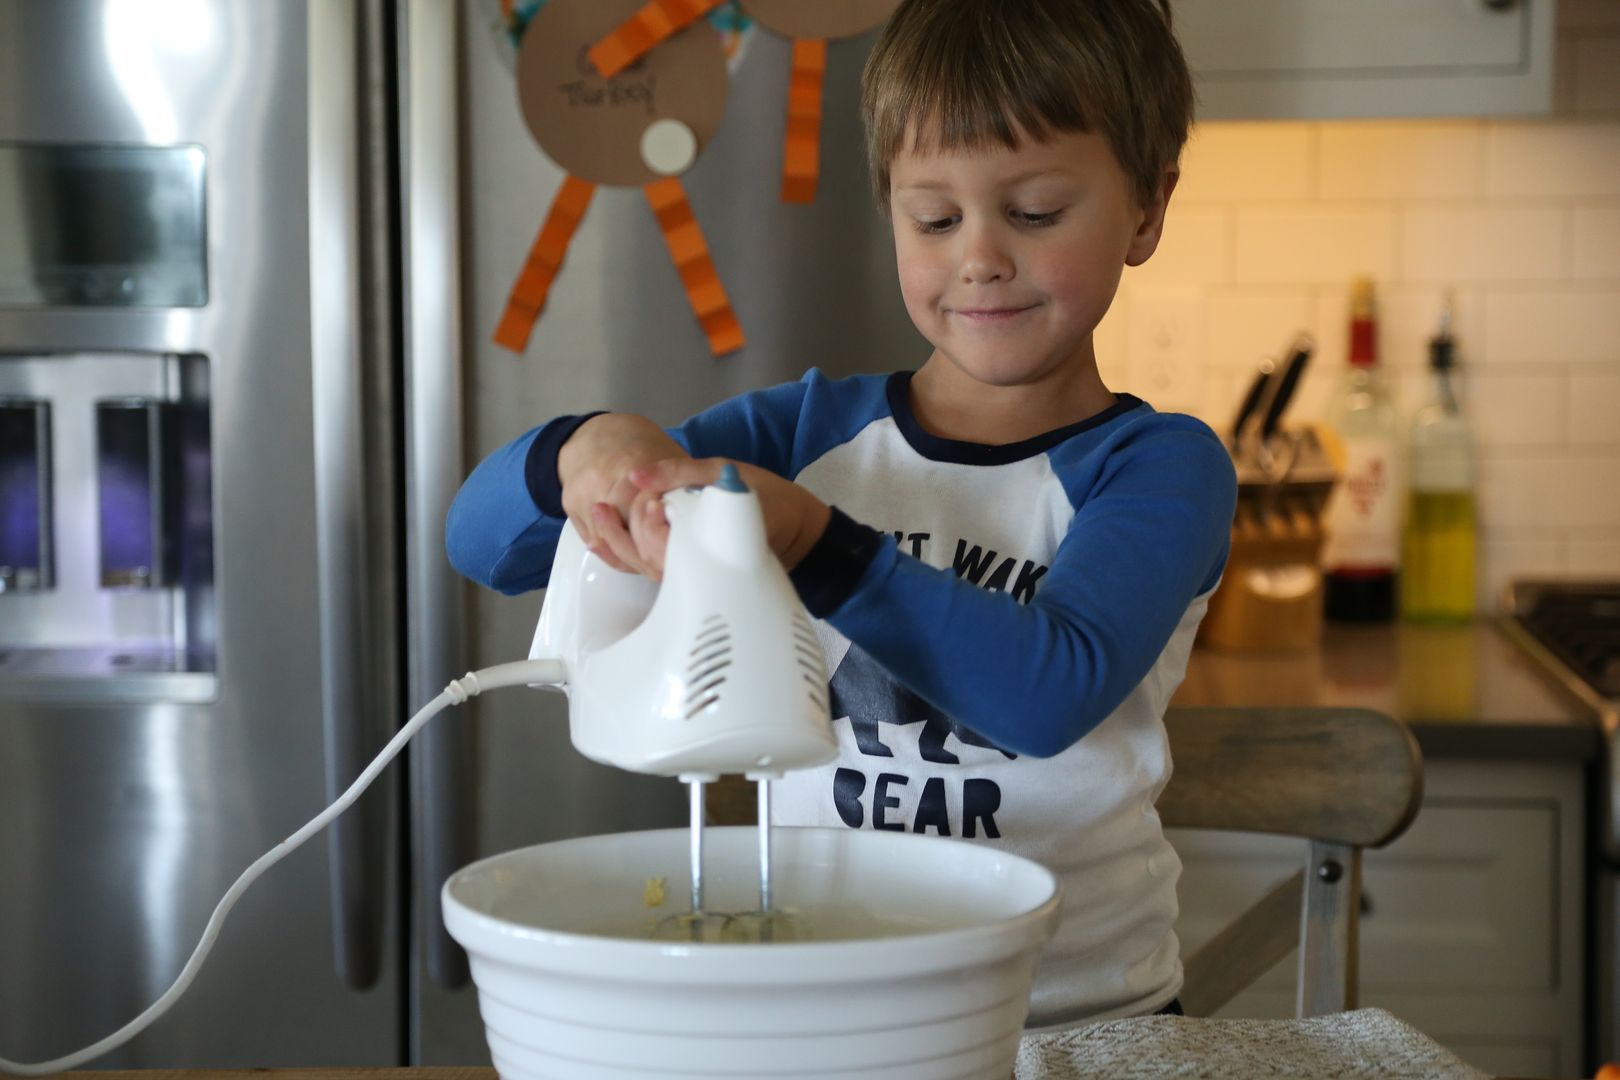
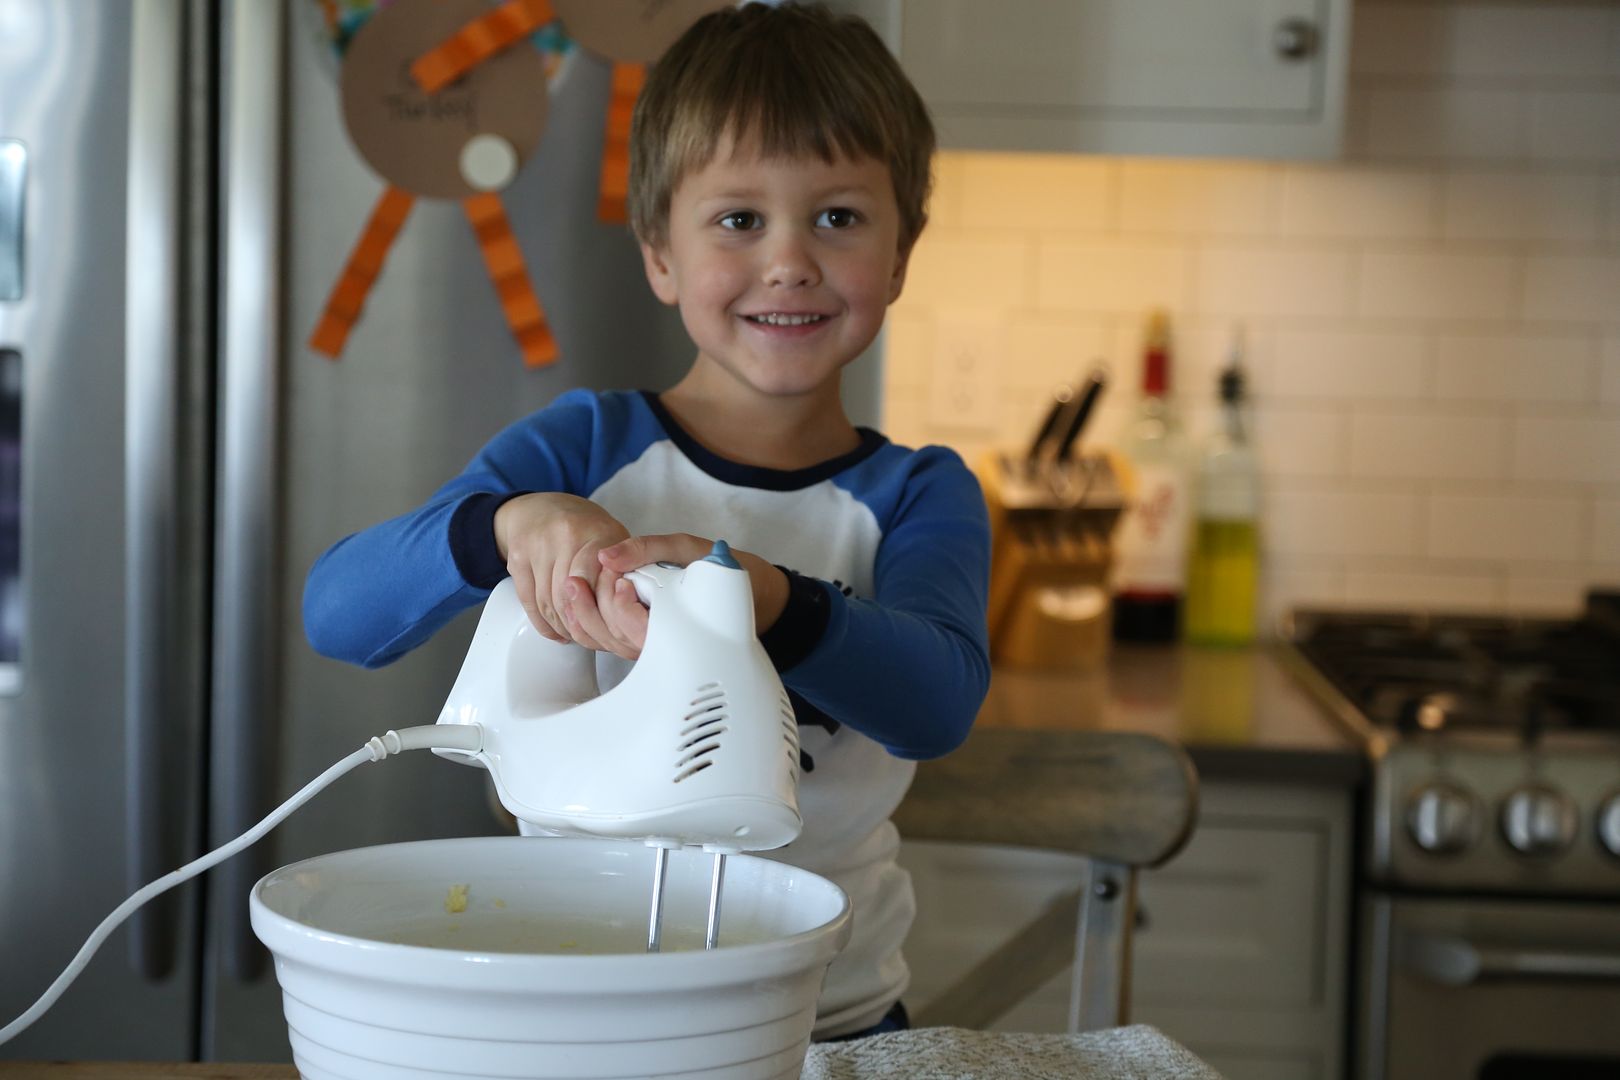
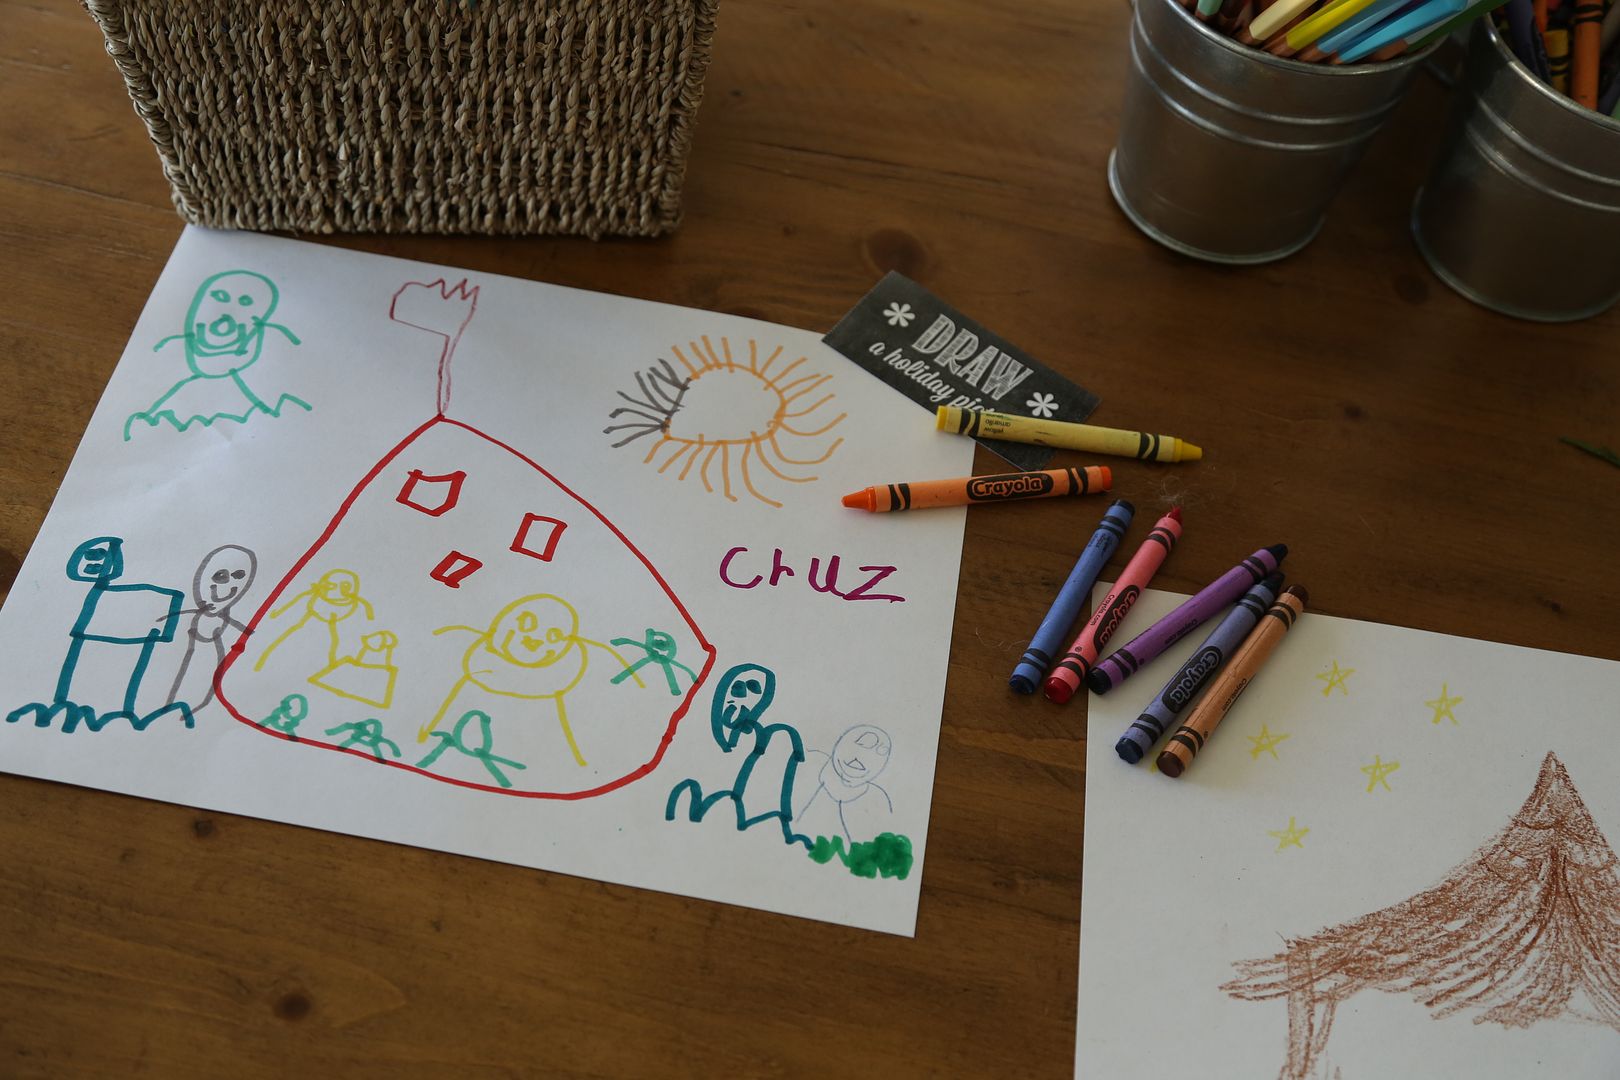
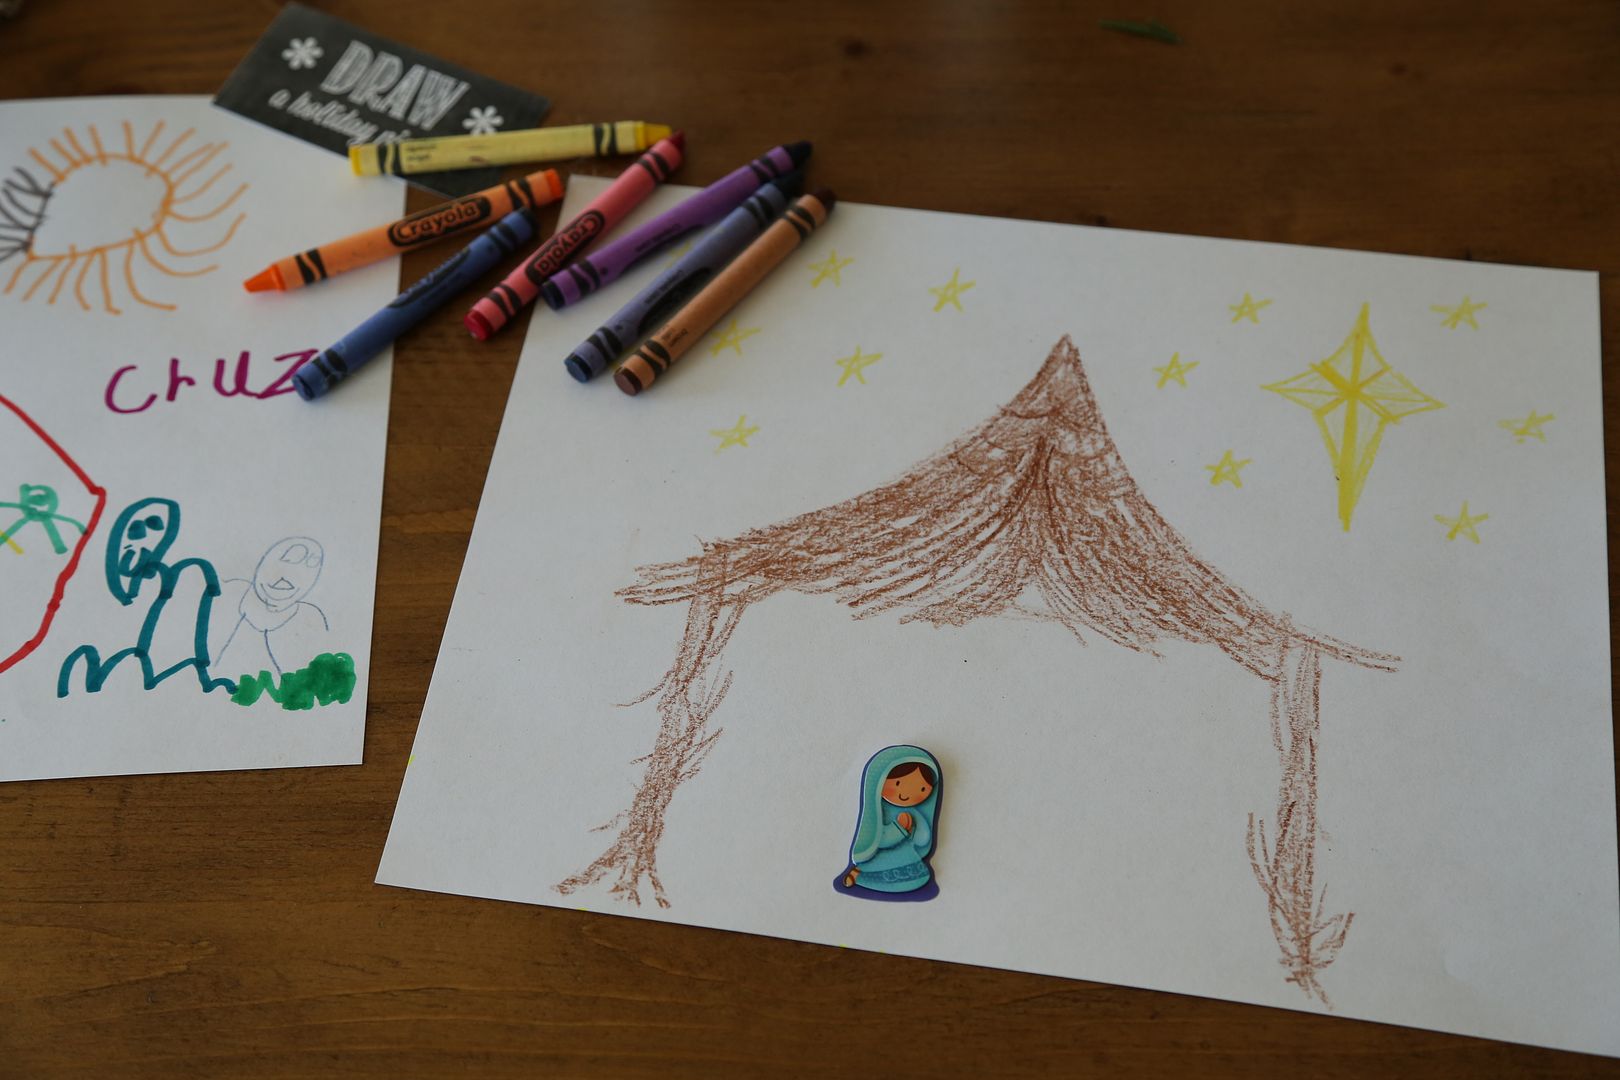
We made breakfast together, I let Cruz crack all the eggs himself, and we took advantage of the advent calendar's direction to draw a Christmas picture together. Cruz drew the manger scene, complete with Mary, Joseph, Baby Jesus, and one adorable camel, and I made him a bare stable so he could add the stickers I included in his advent calendar throughout the month.


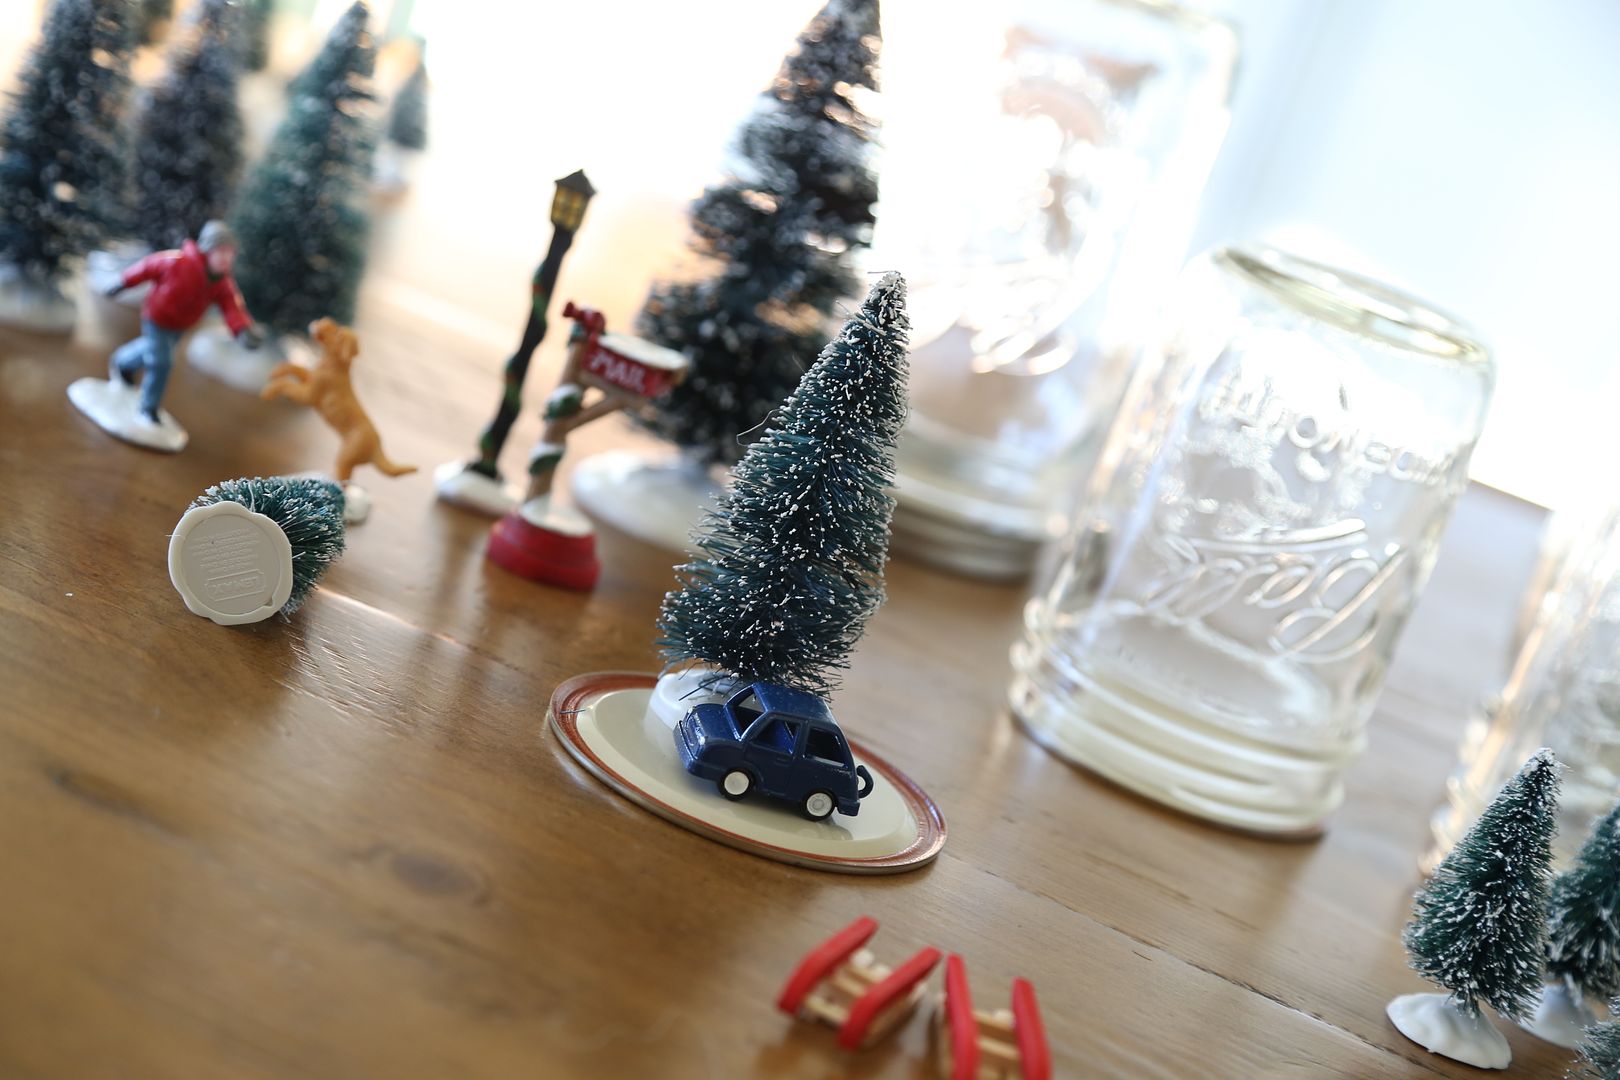
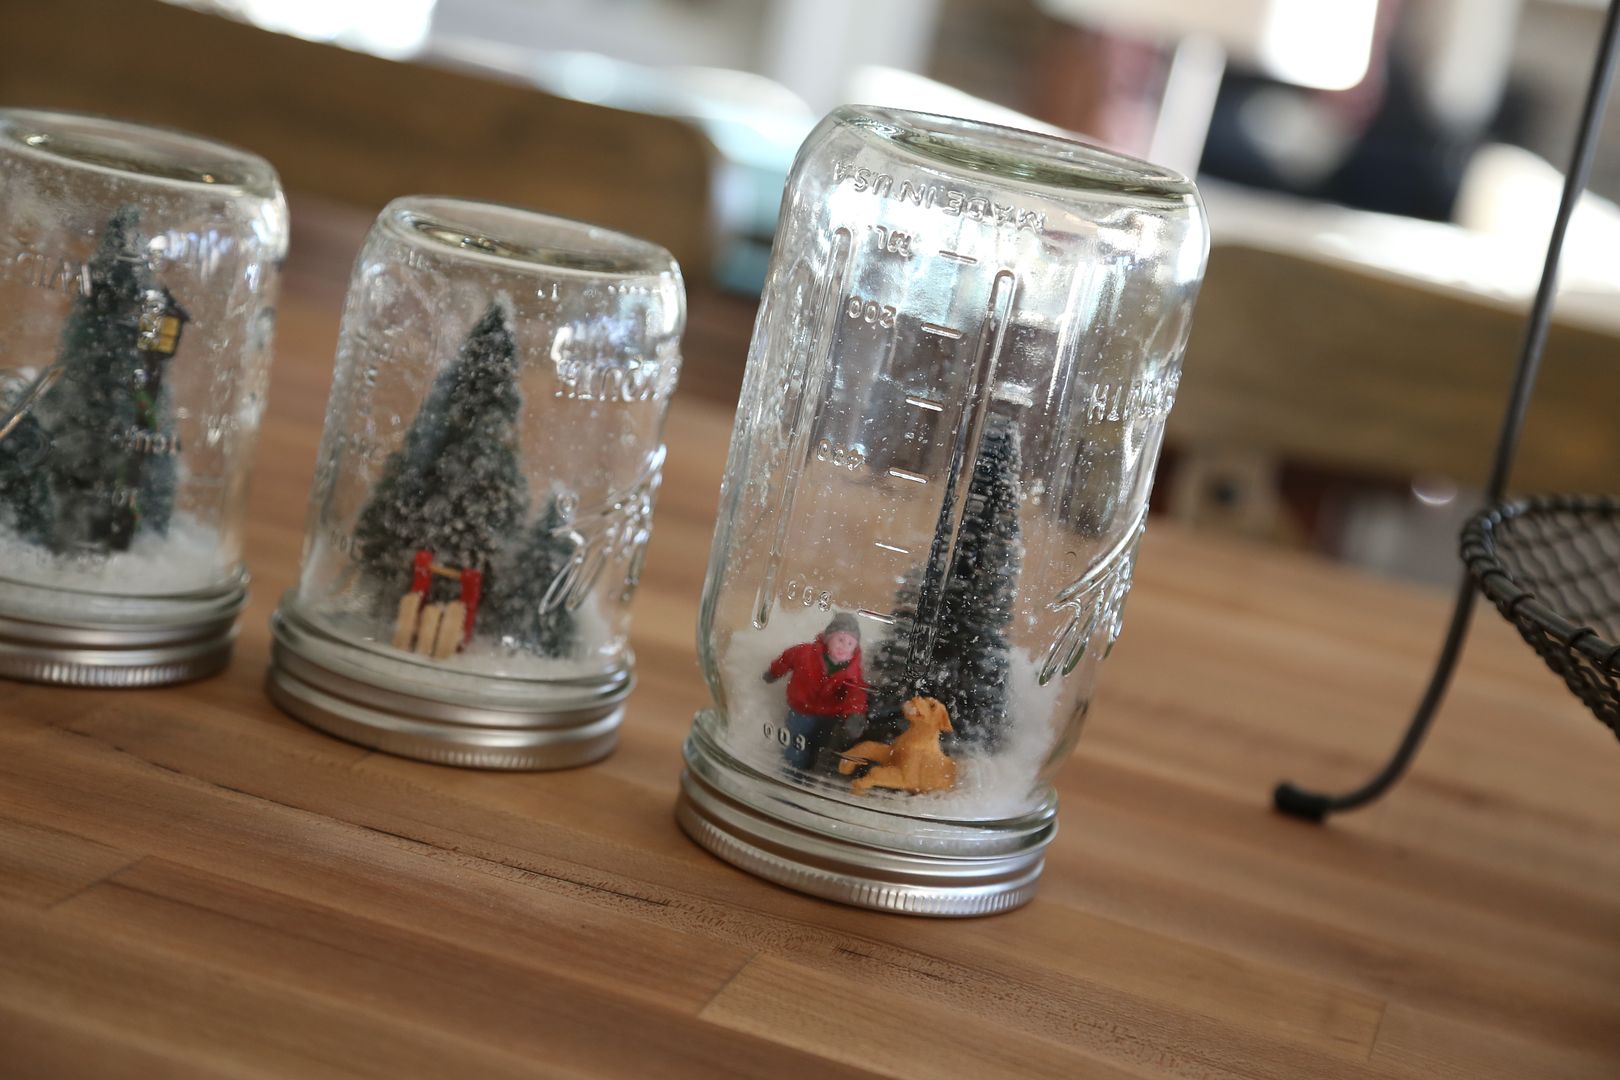
After lunch, we ran a few errands and returned home to make some of my favorite handmade Christmas gifts to give to his teachers and some other special people this year. I saw these mason jar snow globes several years ago at Anthropologie, and tried my hand at a homemade variation a couple of years ago. I wasn't sure if anyone would understand the concept of them so I kept most of them that year, and gifted a couple to my mom and grandma. To my surprise, they loved them. Now, every year, they are some of my favorite Christmas decorations and they were easy and fun to make. They definitely go with the very popular vintage farmhouse look, and Cruz and I had fun putting making them together this year.
Here is all you need for this project...
-Jars, any shape or size will do
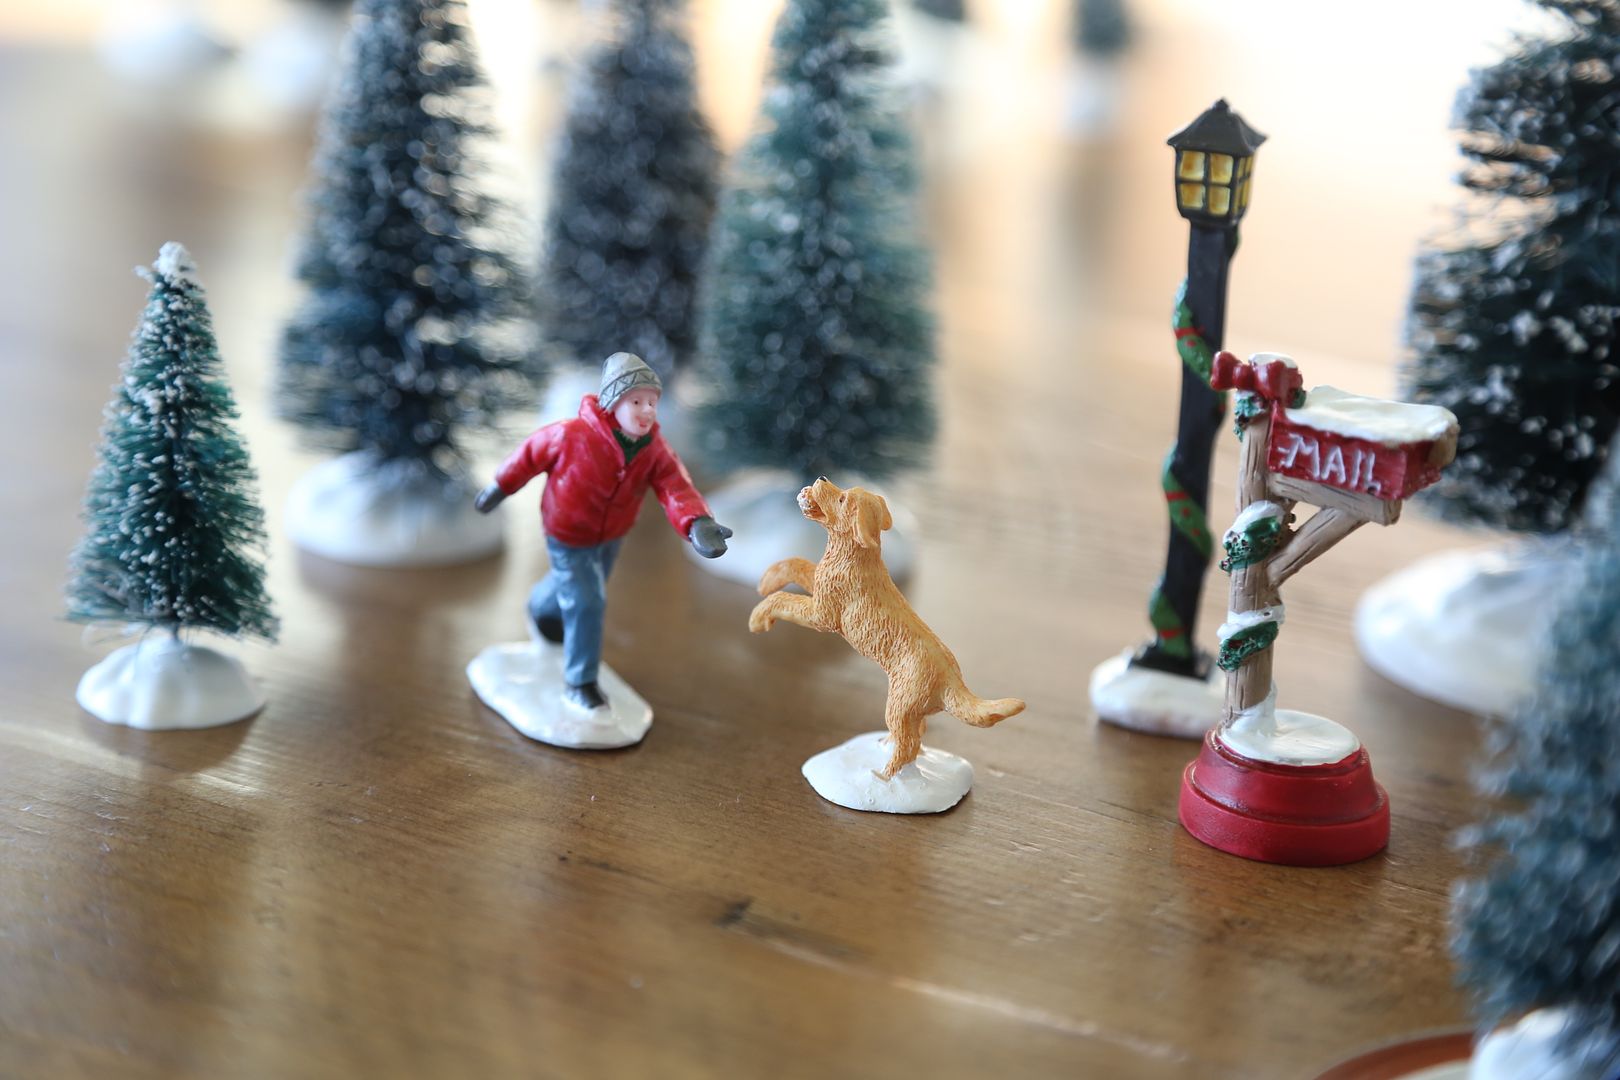
-Christmas village trees, figurines, or accessories (look for sales at Michaels, Joann's Fabric, Menards, etc., anywhere that carries Christmas villages)
-Fake snow, I found a bag at Michaels
-Hot glue
-Baker's twine and card stock
1. First, we organized our figurines and unscrewed our jars. Have fun arranging little winter scenes and testing out their fit on the jar lid. Just set the lid on your work space, arrange your trees/figurines on the lid, and put the jar over top to see if they fit.
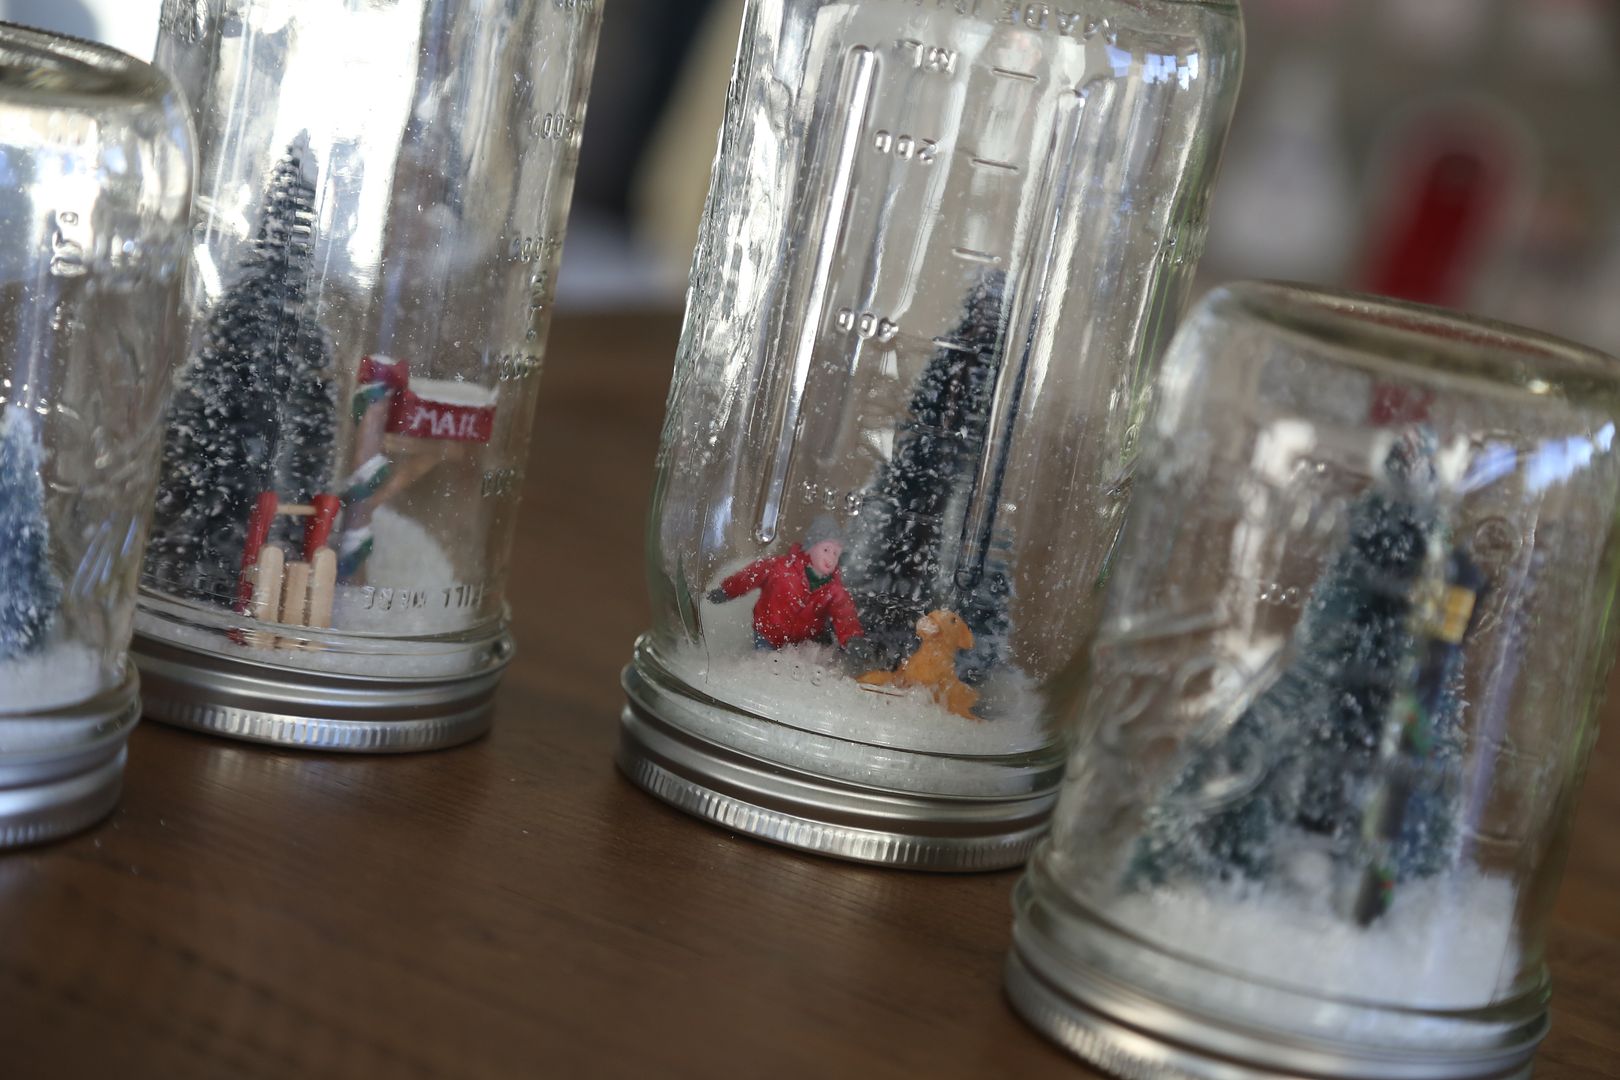
2. Then, hot glue your scene on the inside part of the jar lid.
3. Add some fake snow to your jar, then once your glue is dry and your scene secure, stick the lid on the jar and secure it with the rim. You can glue the rim onto the jar, or just tighten it.
4. Flip the jar over and test out the amount of snow you included.
5. Tie some festive baker's twine around the finished jar, along with a handmade note.
No comments:
Post a Comment